I’m lucky enough to be hired to photograph numerous conferences and corporate events. But I learn something new each time – a method, a habit or a trick that makes me a better event photographer. I’ve tried to capture some of this know-how here, as a reminder for myself. And if it’s useful to other photographers as well, that will be an added bonus.
1. Be clear about the objective


First, last and all the way in between, remember that your job is to deliver images that will be useful to the client. She may have chosen you because she likes your style, but it doesn’t matter how creative the photos are if she can’t use them on the organisation’s website or Facebook page. What subjects should you cover? What is the top priority? Are there people or parts of the programme that you should not photograph? Some clients are willing to give a detailed briefing about the ‘look’ they are after, or about technical issues such as aspect ratio. But most will be happy to leave these decisions to you. What’s essential is that you understand where your photographs will end up. If this is a social media account, take a look at the images they post, especially of events. If you want to diverge significantly from an established style, discuss this with your client in advance.
2. Be a participant
I’ve always found that having a basic grasp of the content of an event helps me to make better photos. Make sure you get hold of the programme in advance. Not only will this show timings and speakers’ names, it’ll also give you an idea of the subject matter. What are the hot topics? What will be controversial? Will the participants be excited? I try to read one or two related news articles or listen to a relevant podcast ahead of each event. This will allow you to enter more easily into conversation with delegates during the breaks, which are always great times to capture interactions and candid portraits.
3. Set your camera’s date and time
Before you start, check that date and time are set correctly on your camera, especially if you’re using two or more bodies. Clients will apreciate receiving images in strict time sequence (see Lightroom workflow for multi-camera projects).
4. Smile, chat …


For a photographer like me, covering a conference is like Christmas and birthday rolled into one. I get to spend a day with 50, 100 or 1,000 people, and it’s my job to photograph them! They are usually aware that I’m the official photographer, and though some do not want to engage with me, most will at least tolerate the camera. I try to be considerate and helpful, and I smile a lot. I never insist on interacting with a delegate, but whenever there’s an opening I’m happy to stop and chat for a moment. Such exchanges put the person concerned – and those around him – at ease, and you get much better shots when you are no longer perceived as a threat. Some people may even ask explicitly for a portrait. I always take these requests seriously. I ask the person to move into better light, and I exchange cards so that I can send them the best shot afterwards.
5. … and when necessary, slip on your invisibility cloak

Schmoozing delegates in the coffee breaks is all very well, but there are times when you need to be invisible. I particularly like to get shots of speakers with the audience in the background. Don’t be shy. Remember, it’s your job! The cardinal rule here is that you should never disturb the speaker herself. If she’s an entertaining speaker, the audience will never notice you appearing behind her for a few seconds – just long enough to get the shot you want. Always get to the event in good time to explore the venue thoroughly. Where will you get the best views of the stage? How will you get there most easily and most unobtrusively?
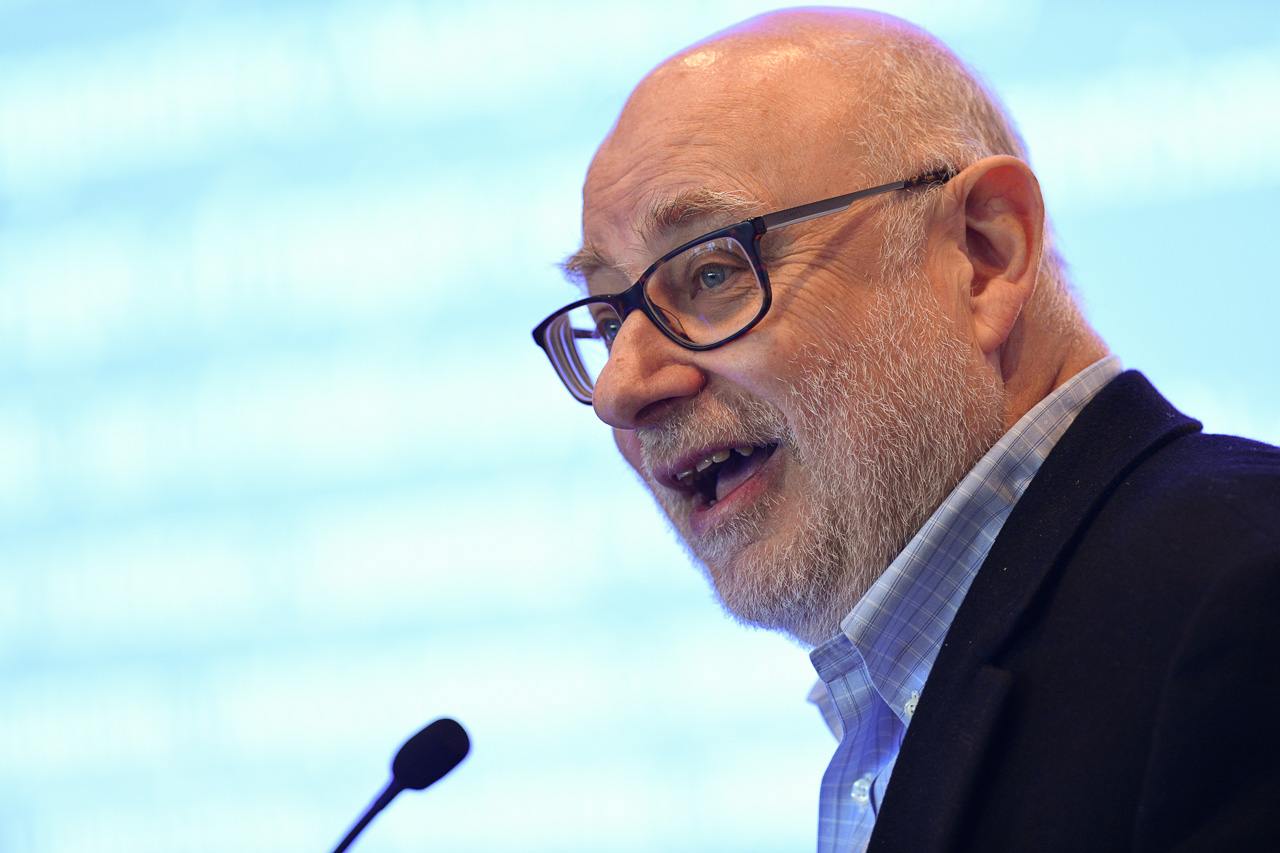
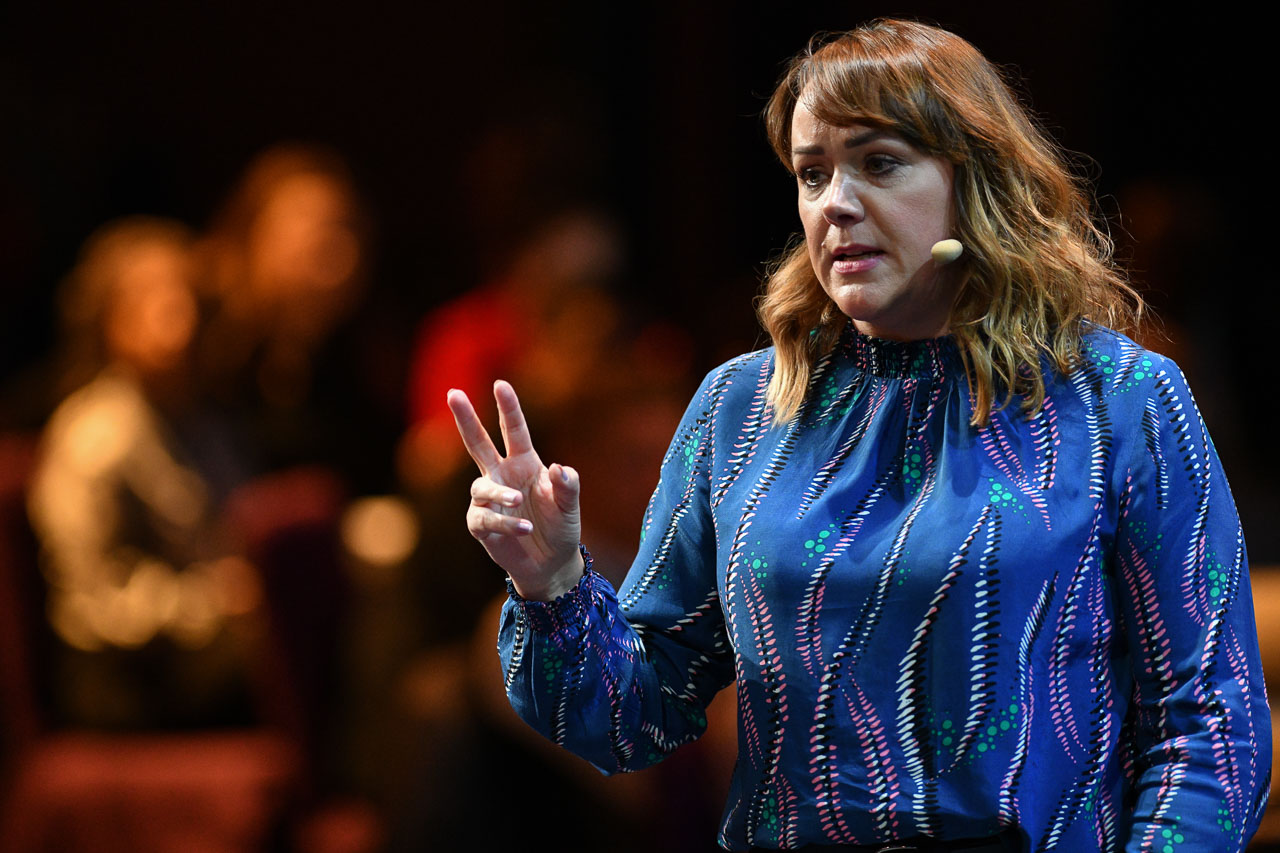
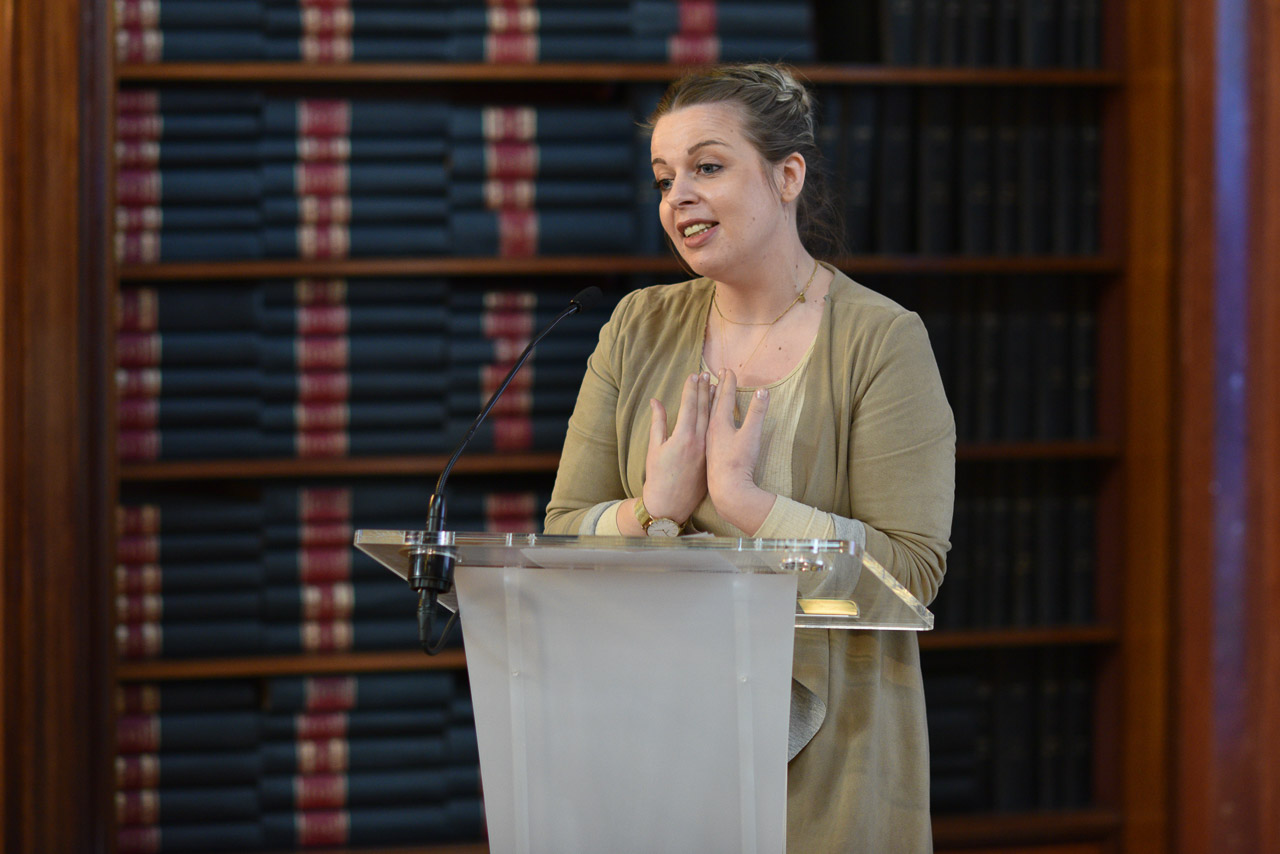
6. Watch the hands


Hand movements make for great images. But in the low-light situations of many events it’s hard to avoid blur. Try to catch the gesture at its summit, when the hand is still.
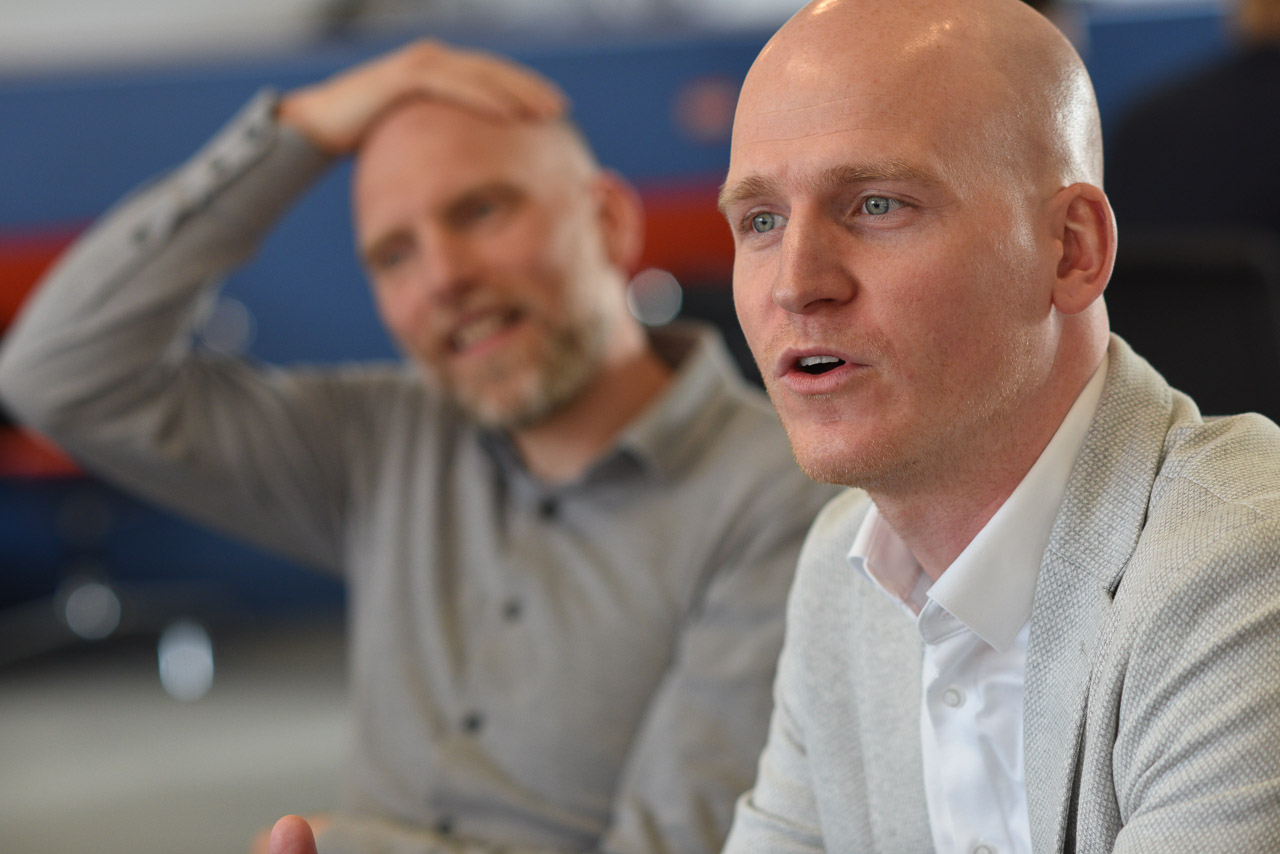
7. Watch the eyes
Glances, either directly at the camera or exchanged between two people, also make great shots. Like a cat, be still and then pounce.


8. The light is always sh*t
Here’s a short list of the difficult lighting situations I regularly work in:
too little (no natural light)
too much (sunlight streaming in)
too contrasty (dark with harsh downlights)
too varied (mix of tungsten, fluorescent and LED, impossible to colour balance)
too clever (the venue thought that blue splashes and/or whirling disco lights would create an ambience)
There’s just no good solution. Flash can sometimes help (but ask the client first). Identify the least bad and the totally impossible spots and do the best you can. Sometimes, embracing the weirdness will give you a few really good shots.
9. The hungry photographer
Conference breaks, including lunch breaks, are great moments for more relaxed shots (and if you’re really lucky the light may be better, too). But it’s simply not possible to take a good photograph of someone while they’re eating. Typical conference catering arrangements give you an opportunity, however. If it’s a buffet, work the line of people queuing for their meal. By the time they’re eating, the ones who got to the buffet first will have finished. Similarly, if it’s a sit-down dinner concentrate on the tables that haven’t yet been served, then move across to the ones that were served first. And don’t forget to grap something to eat yourself. (Pro tip: a buffet table has two sides.)